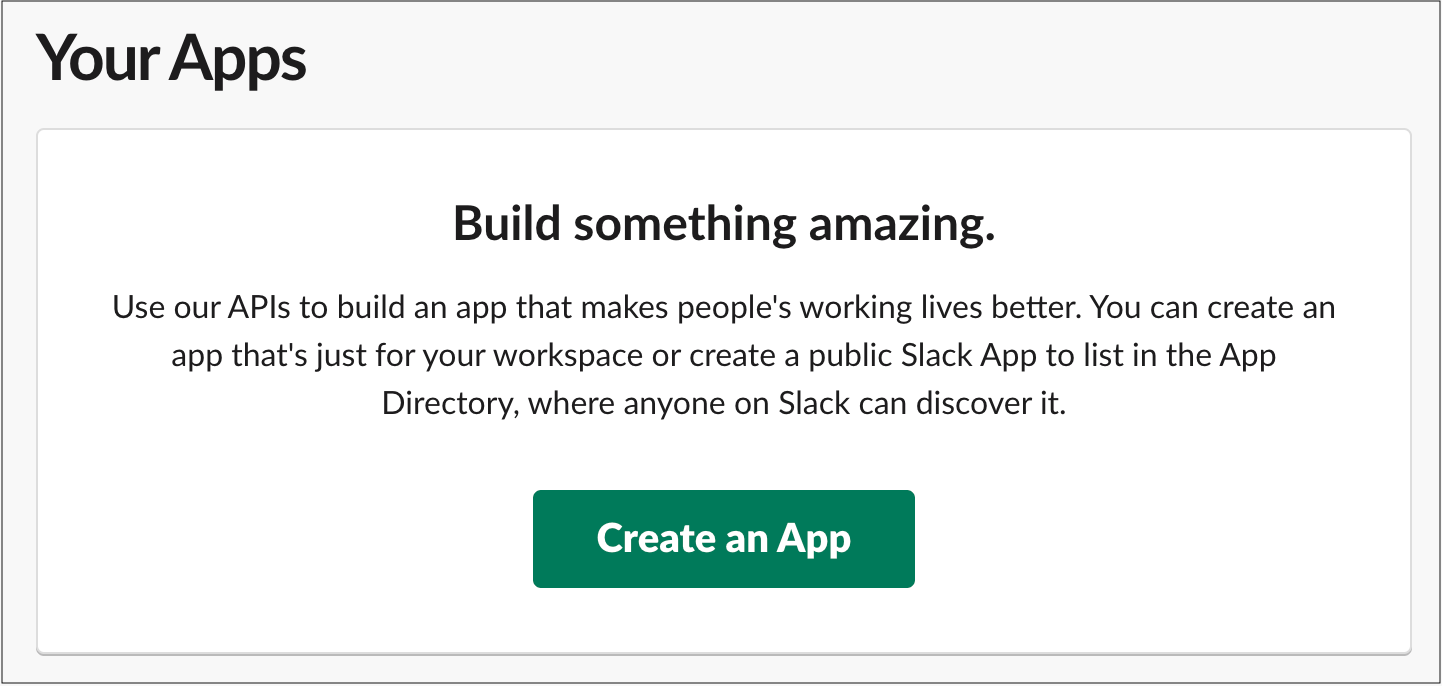
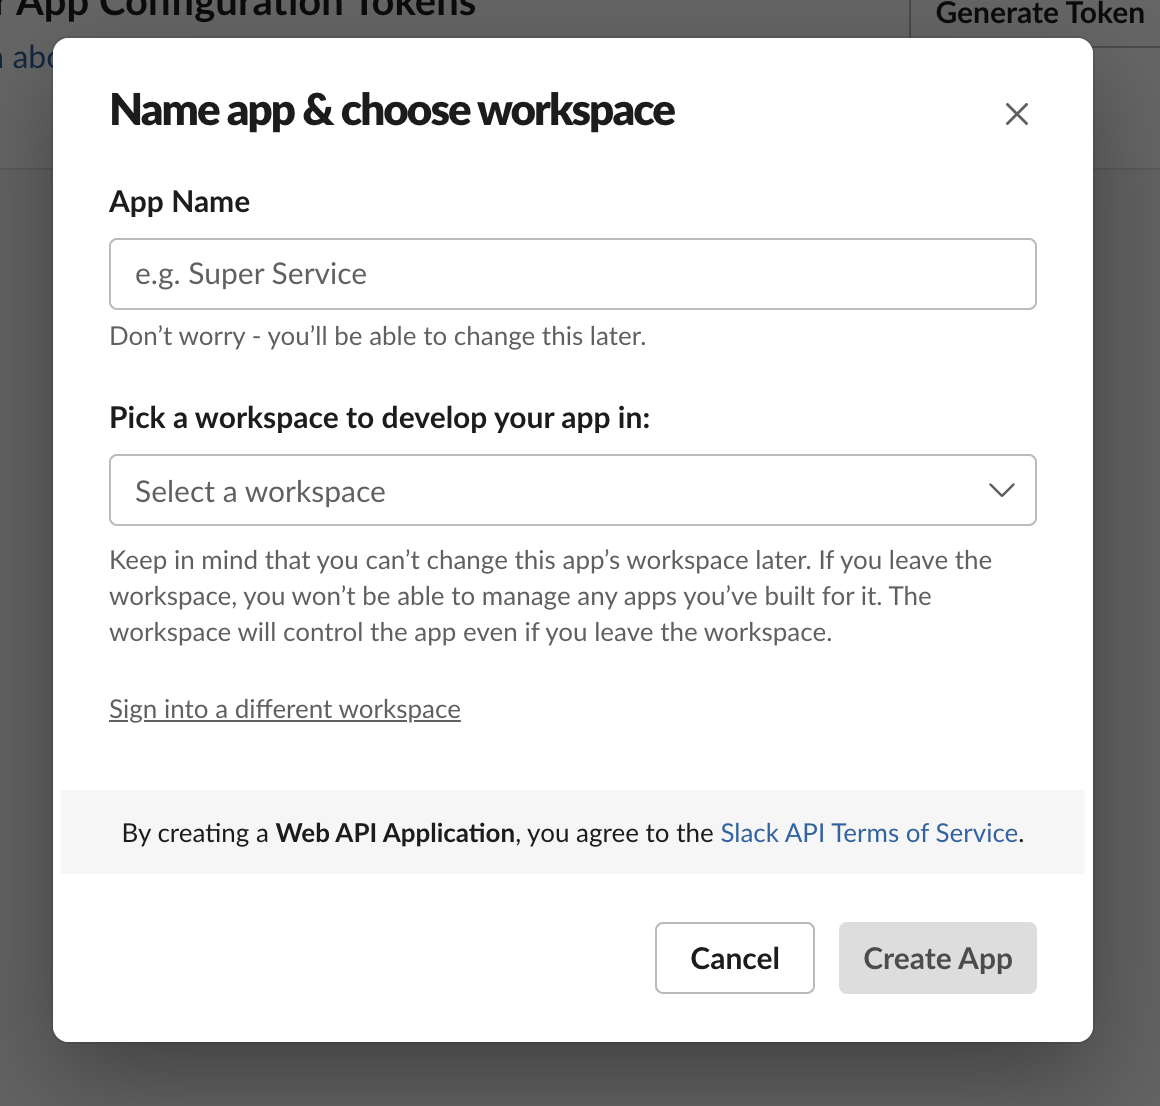
 2. Saisissez un nom pour votre application dans le champ **Nom de l'application**.
3. Sélectionnez l'espace de travail Slack dans lequel vous souhaitez développer votre application. Assurez-vous d'utiliser le même espace de travail Slack pour les alertes.
2. Saisissez un nom pour votre application dans le champ **Nom de l'application**.
3. Sélectionnez l'espace de travail Slack dans lequel vous souhaitez développer votre application. Assurez-vous d'utiliser le même espace de travail Slack pour les alertes.
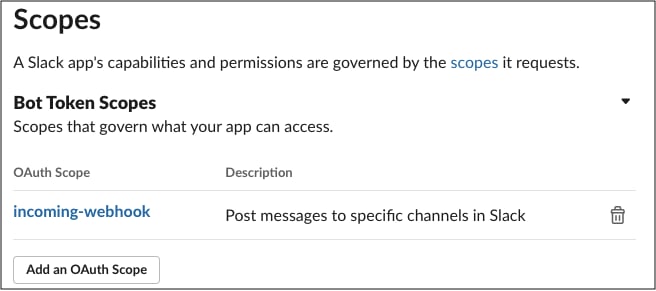
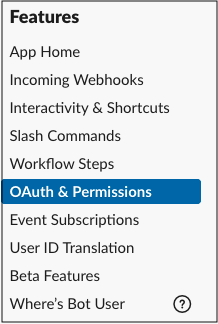 2. Dans la section Scopes, attribuez au bot le scope **incoming\_webhook**. Les scopes accordent à votre application l’autorisation d’effectuer des actions dans votre espace de travail de développement.
Pour plus d’informations sur les scopes OAuth pour les bots, Voir le tutoriel Understanding OAuth scopes for Bots dans la documentation de l’API Slack.
2. Dans la section Scopes, attribuez au bot le scope **incoming\_webhook**. Les scopes accordent à votre application l’autorisation d’effectuer des actions dans votre espace de travail de développement.
Pour plus d’informations sur les scopes OAuth pour les bots, Voir le tutoriel Understanding OAuth scopes for Bots dans la documentation de l’API Slack.
 3. Configurez l’URL de redirection pour qu’elle pointe vers votre installation W\&B. Utilisez la même URL que celle définie comme URL d’hôte dans les paramètres de votre système local. Vous pouvez spécifier plusieurs URL si votre instance utilise différents mappages DNS.
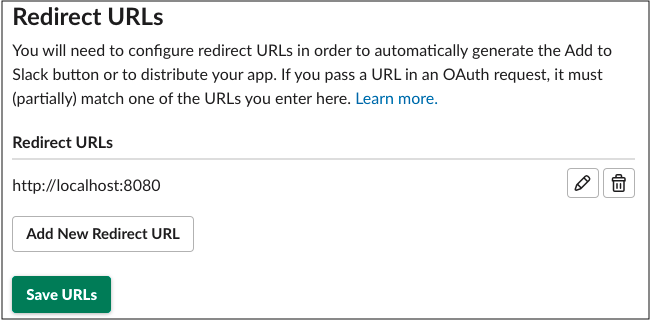 4. Sélectionnez **Save URLs**.
5. Vous pouvez aussi spécifier une plage d’adresses IP sous **Restrict API Token Usage** afin d’autoriser l’adresse IP ou la plage d’adresses IP de vos instances W\&B. Limiter les adresses IP autorisées renforce la sécurité de votre application Slack.
4. Sélectionnez **Save URLs**.
5. Vous pouvez aussi spécifier une plage d’adresses IP sous **Restrict API Token Usage** afin d’autoriser l’adresse IP ou la plage d’adresses IP de vos instances W\&B. Limiter les adresses IP autorisées renforce la sécurité de votre application Slack.
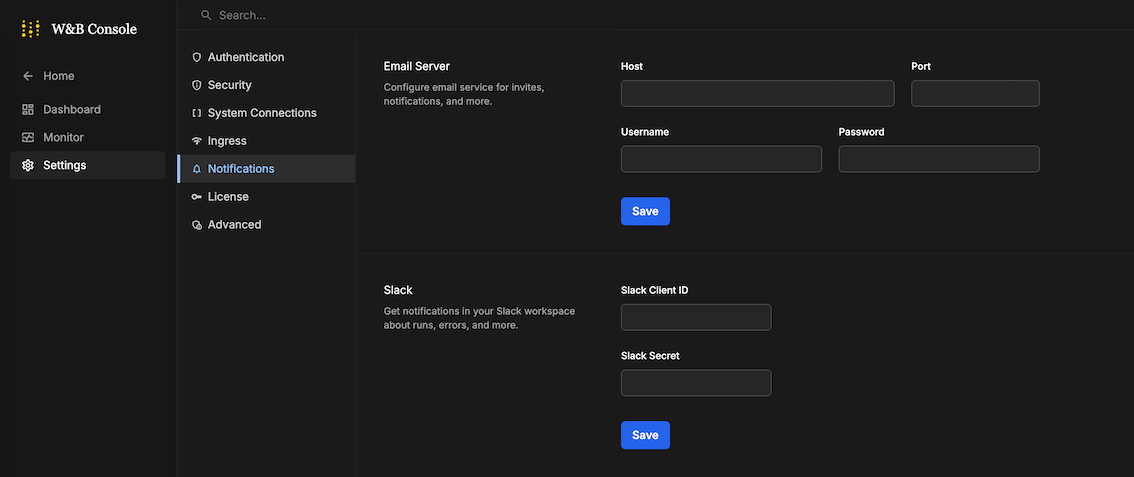 * Si vous êtes dans **System Settings** : activez l’option **Enable a custom Slack application to dispatch alerts** pour activer une application Slack personnalisée
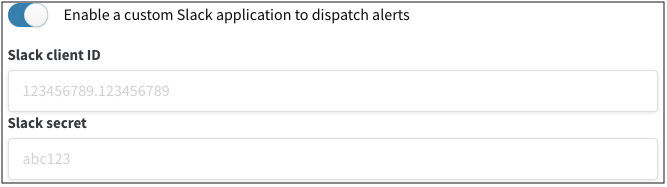 3. Saisissez votre **ID client Slack** et votre **secret Slack**, puis cliquez sur **Save**. Accédez à Basic Information dans Settings pour trouver l’ID client et le secret de votre application.
4. Vérifiez que tout fonctionne en configurant une intégration Slack dans l’application W\&B.
3. Saisissez votre **ID client Slack** et votre **secret Slack**, puis cliquez sur **Save**. Accédez à Basic Information dans Settings pour trouver l’ID client et le secret de votre application.
4. Vérifiez que tout fonctionne en configurant une intégration Slack dans l’application W\&B.